about       contribute       contact       newsletter      
Tasmania 360 guide
GUIDES      |       PANORAMAS      |       IMAGES      |       ARTICLES
Image by Loic Le Guilly

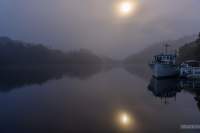
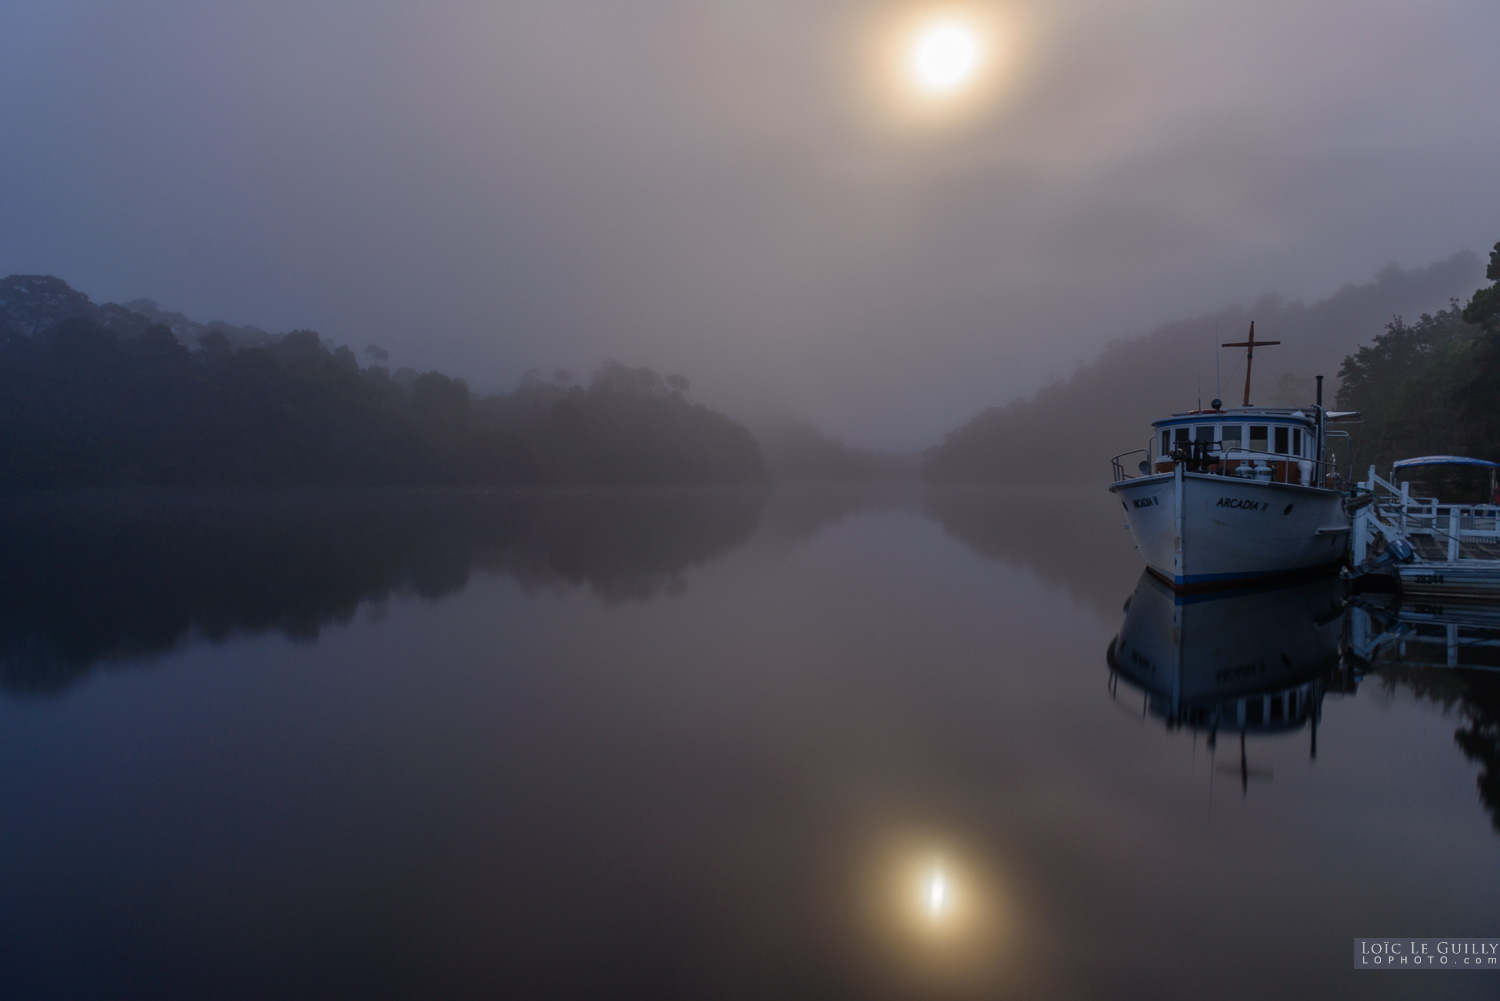
Fog and moon, Pieman River


Early morning at the Pieman River with the moon piercing through the fog.
photograph of Fog and moon, Pieman River

This image belongs to :     Weather in Tasmania    The Tarkine

Related images

Early morning at the Pieman River with the moon piercing through the fog.

Fog and moon, Pieman River

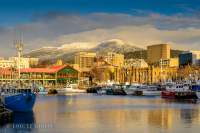
Hobart harbour with Mt Wellington under the snow

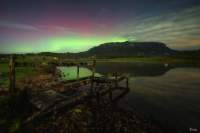
"Ravishing Roland"

Mt Roland, Sheffield - Tasmania. 08/05/14

Last night I ventured out with my good mate Kyle Rodgers, we went to this location in hope the Aurora would put on a nice display as we had been planning to shoot here for quite some time!

The weather was almost perfect, no breeze, the moon had enough strength to light the foreground, and lucky enough to not smother the Aurora!

It was an amazing sight for a small time, as soon as it peaked....it was gone in a matter of minutes!

Thanks again for sharing this location with me Kyle, was a night I will not forget in a long time!

Mt Roland aurora

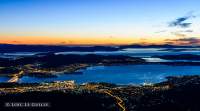
Hobart at dawn from Mount Wellington

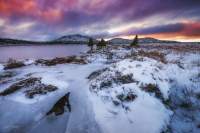
Ice and snow on Pine Lake in the Central Highlands of Tasmania

Pine Lake, Central Highlands

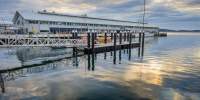
Soft light in this slightly moody sunrise in Hobart looking at Elizabeth St Pier.

Sunrise near Elizabeth St Pier

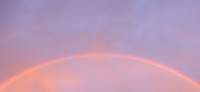
rainbow and sunrise over Hobart

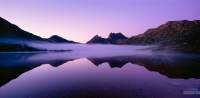
Stunning and still morning at Dove Lake in Cradle Mountain national park.

Dawn and fog at Cradle Mountain

Tasman Bridge sunrise from Mt Wellington

View from the Signal Station on Mt Nelson

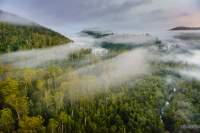
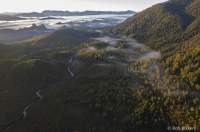
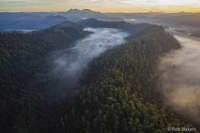
Morning flight above the Tarkine rainforest.

Rivers of Fog in the Tarkine

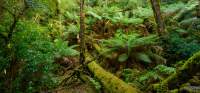
Tarkine miniature forest

Rare example of a gallery rainforest near Corina in the Tarkine.

Tarkine gallery rainforest

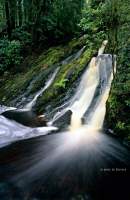
Secret fall in the Tarkine

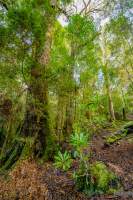
Tarkine rainforest

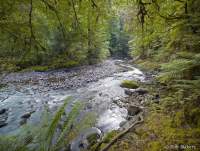
Harman River, parsons Hood

Huskisson River

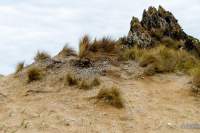
Aboriginal midden, Tarkine coast

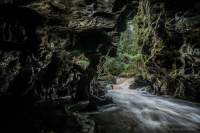
Julius River entering a cave in the Tarkine.

Tarkine cave

Huskisson wilderness 3

© Tasmania 360 / Loic Le Guilly unless specified otherwise.